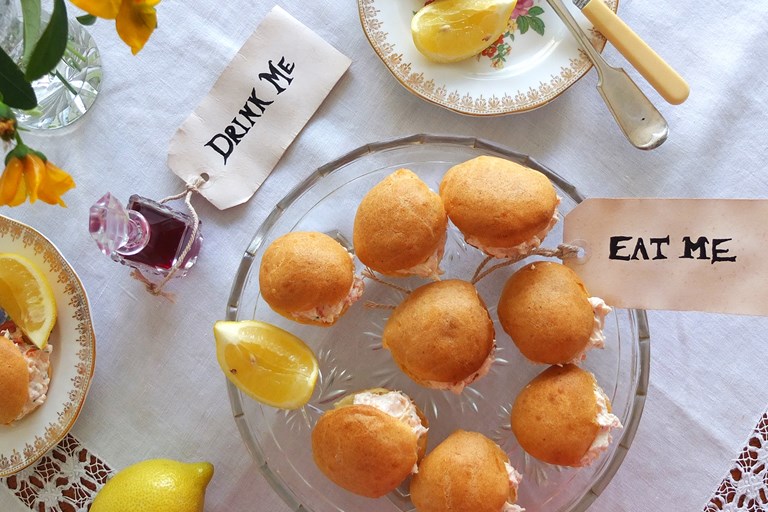
Ok, confession time. Before deciding on sending out French macarons this month in our baking box, I’d never actually TASTED a macaron, let alone actually made one … (Cue the collective gasps of horror!) I know, I know. I’ve always thought they were so pretty and they always seemed to shout “EAT ME” from behind the glass in the bakery shops. I never did. I was labouring under the mistaken idea that they were extremely sweet, soft, cakey cookies that I was positive were not for me. Their reputation for being the world’s most finicky cookie to bake did not help matters either.
When the time came to develop our recipe, we researched the different elements that make a successful macaron cookie. Our first attempt was perfect! I was convinced that we had mastered the delicate art of French macaron making on our first try until we tried again and it was a disaster. Our second and third attempts failed too. So we went back to the drawing board and to our great delight, these gorgeous little cookies are not crazy difficult to make at all. They just require understanding of the process, practice, patience and accuracy. Here are our tips for making the perfect French macaron.

Tip #1: Weigh Your Ingredients
It’s been said many times that baking is a science. This is true especially with macarons. This is not a recipe you want to use measuring cups, or “eye ball” to measure an ingredient. There is just too much room for error, and the results may vary if the exact same weights are not repeated each time. You definitely want to use a kitchen food scale to weigh the ingredients. Here is a good, inexpensive one.

Tip #2: Sift Your Dry Ingredients
Always sift the dry ingredients together and whisk thoroughly before adding to the meringue. If needed do it more than once. Large pieces in your dry mixture will show through in the macaron shell. They can also cause the shells to not rise properly by weighing them down.
Tip #3: Make Sure Your Mixing Utentsils are Grease-Free
Even a little grease in the mixing bowl or on the whisk can prevent your meringues from whipping up properly. Giving the clean utensils a wipe down with a paper towel and a little vinegar or lemon juice can be helpful. Also make sure when separating the eggs, do not get any yolks in the egg whites. The fat in the yolks may stop the meringue from forming as well.

Tip #4: Age Your Eggs Whites & Whip at Room Temprature
Some recipes call for aging your egg whites. This just means you separate your eggs in advance and let the whites sit in a bowl covered with plastic wrap for a few hours or up to a few days before baking with them. You should bring them out and let them get to room temperature before whisking them. The idea behind the aging process is to reduce the moisture in the egg whites so that it increases its elasticity for whipping. This helps produce a better meringue. Personally we’ve tested macarons with egg whites we’ve purposely “aged” and without. And we did not notice a significant difference. We used eggs from a supermarket that most likely had been in the fridge for a few days and that may be the reason. However, with so many variables that can make or break a macaron it can’t hurt to try. It is quite important though to make sure you whip the eggs at room temperature rather than cold. Cold eggs separate better but room temperature eggs whip up better. Separate the eggs then keep at room temperature until ready to whisk.
Tip #5: Add an Acid
A good macaron is only as good as it’s meringue. An acid helps to stabilize your meringue by preventing the proteins in your egg whites from coagulating too quickly thereby allowing more time for more air to get incorporated in the meringue. More air equals fluffier meringue. Many people use cream of tartar or citric acid (about 1/8 teaspoon per egg) however, vinegar or lemon juice works as well (1/2 teaspoon per egg). Again, we have tested with extra acid and without and gotten good results both ways.

Tip #6: Add Sugar Slowly
Do not add your sugar all at once while whipping the egg whites. Wait until your egg whites become foamy and opaque before adding the first spoonful of sugar. Keep adding the sugar a tablespoon at a time while whisking the eggs. Adding the sugar slowly provides stability for the meringue as well. It’s advisable to use superfine or caster sugar because it dissolves faster.

Tip #7: Adding Color
When coloring your macaron shells, its best to add the color to the meringue. This ensures that the color is evenly distributed throughout the cookie and you don’t get patchy spots. Once soft peaks have formed add the coloring and whisk to stiff peaks. It’s best to use a gel food coloring that is not oil based. A liquid food coloring may add too much moisture to the meringue and offset the balance of your recipe. A gel color provides a strong, concentrated color using only a very little amount. When mixing, it’s okay if the color is a little darker that you want your cookies to be. It will lighten up a bit after you add the dry ingredients. Also, do not use an oil-based color in your meringue or you run the risk of preventing it to whip up properly.
Tip #8: Under-Mixing & Over-Mixing the Batter
Figuring out the proper consistency of the batter is one of the most crucial steps to making a great macaron. The point where you fold your sifted dry ingredients into your meringue is called the macronage. The more you turn the batter, the smoother and thinner it becomes. Turn until it gets to a thick cake batter consistency. Not too runny but still pourable. You should be able to write out the figure “8” with the batter because it will fall in a long unbroken ribbon when poured from the spatula. Under mix and you will get dry, cracked macarons that do not bake up properly and do not form those feet. Over mixing will cause your batter to spread to thin and create a shell that is not crispy. Your cookie may also become gummy and too soft. This is why it’s important to get the consistency just right. Practice and watching videos that show what the proper consistency should be helps. Here is one:
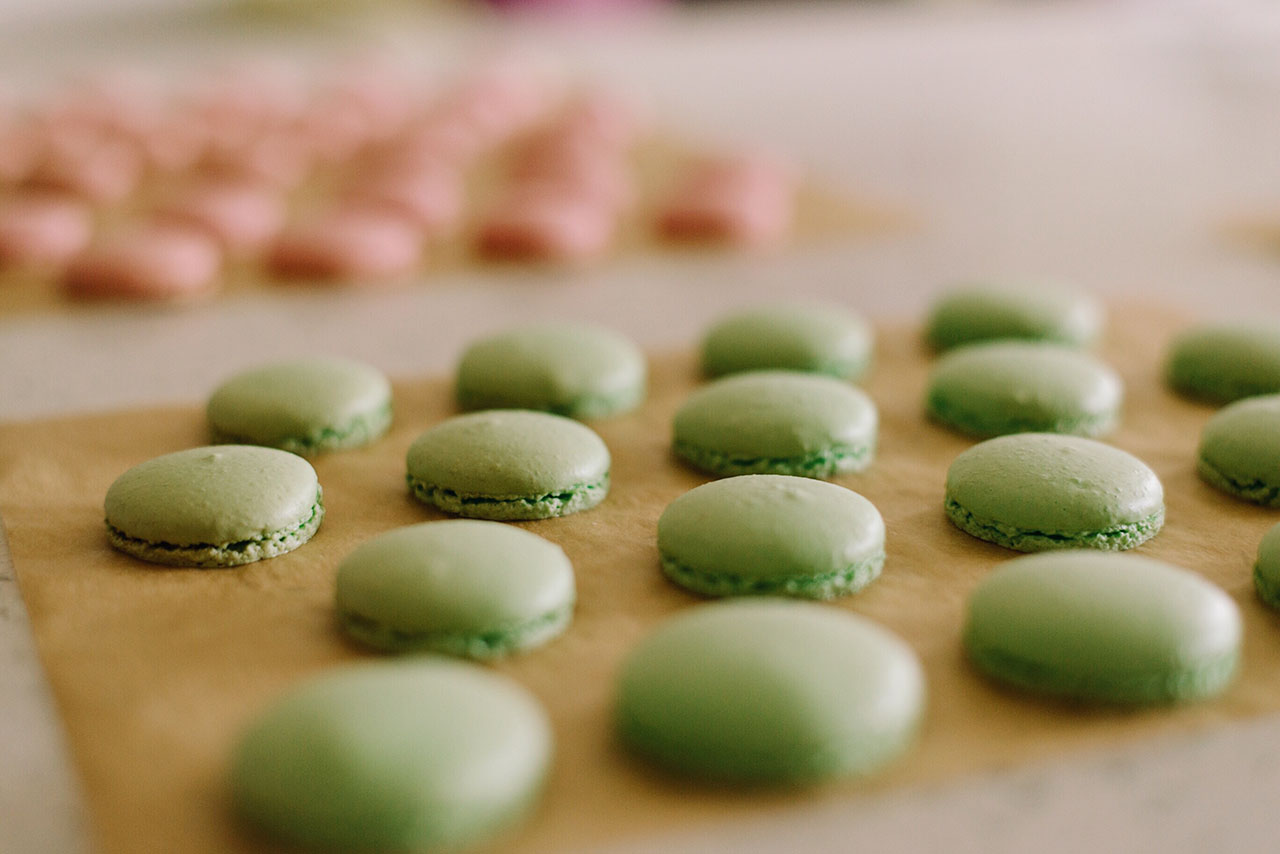
Tip #9: Piping the Batter
You can almost predict if your macarons will bake up nicely and develop those little frilly feet at this point. When piping your batter, it should flow smoothly without too much pressure. However it should be thick and not spread too much on the macaron mat. Any “nipples” formed while piping should dissipate by itself after about 20 seconds or after banging your tray on the counter. You may smooth out the bumps with your finger but you should not have to do too much of that if its at the right consistency.
Using a macaron mat with a template is helpful to form perfect little rounds. Also using a piping bag fitted with a ½ inch tip makes the piping a little easier to control. If you do not have a macaron mat, you can print out a template and slide that under parchment paper to use as a guide.

Tip #10: Bang & Rest
Here is another important tip. After you’ve piped out your batter, hit the baking tray on your counter a few tips to remove large air bubbles. You do not want large pockets of air getting trapped in the cookie that can create hollow craters after baking. After you do that, just let the piped batter rest until you can touch the tops of the batter and it does not come off on your finger. This means a skin has formed on the surface. That’s what you want. Drying time varies from kitchen to kitchen with humidity playing a huge role in the time it takes. It typically takes anywhere from 30 minutes to an hour but could be long or shorter depending on the weather.
Tip #11: Cooling Time
After they are dry to the touch, follow the suggested baking temperature and time your recipe calls for. After they bake, allow it to cool for a few minutes before you attempt to transfer them to a wire rack. If you try to remove them immediately, they will stick to the baking pat and you’ll be very disappointed! A few minutes to cool makes a huge difference.

Tip #12: Practice, Practice, Practice!
Have fun practicing! You’ll find that no matter how long or how many times you’ve baked macarons they can still turn out less than perfect and break your heart. And that’s ok! Do not give up trying and testing different fillings and flavors because that is the joy of baking! Remember macaron mistakes are always yummy anyway.
Try Our London Fog Baking Kit and Get Your Macaron On!
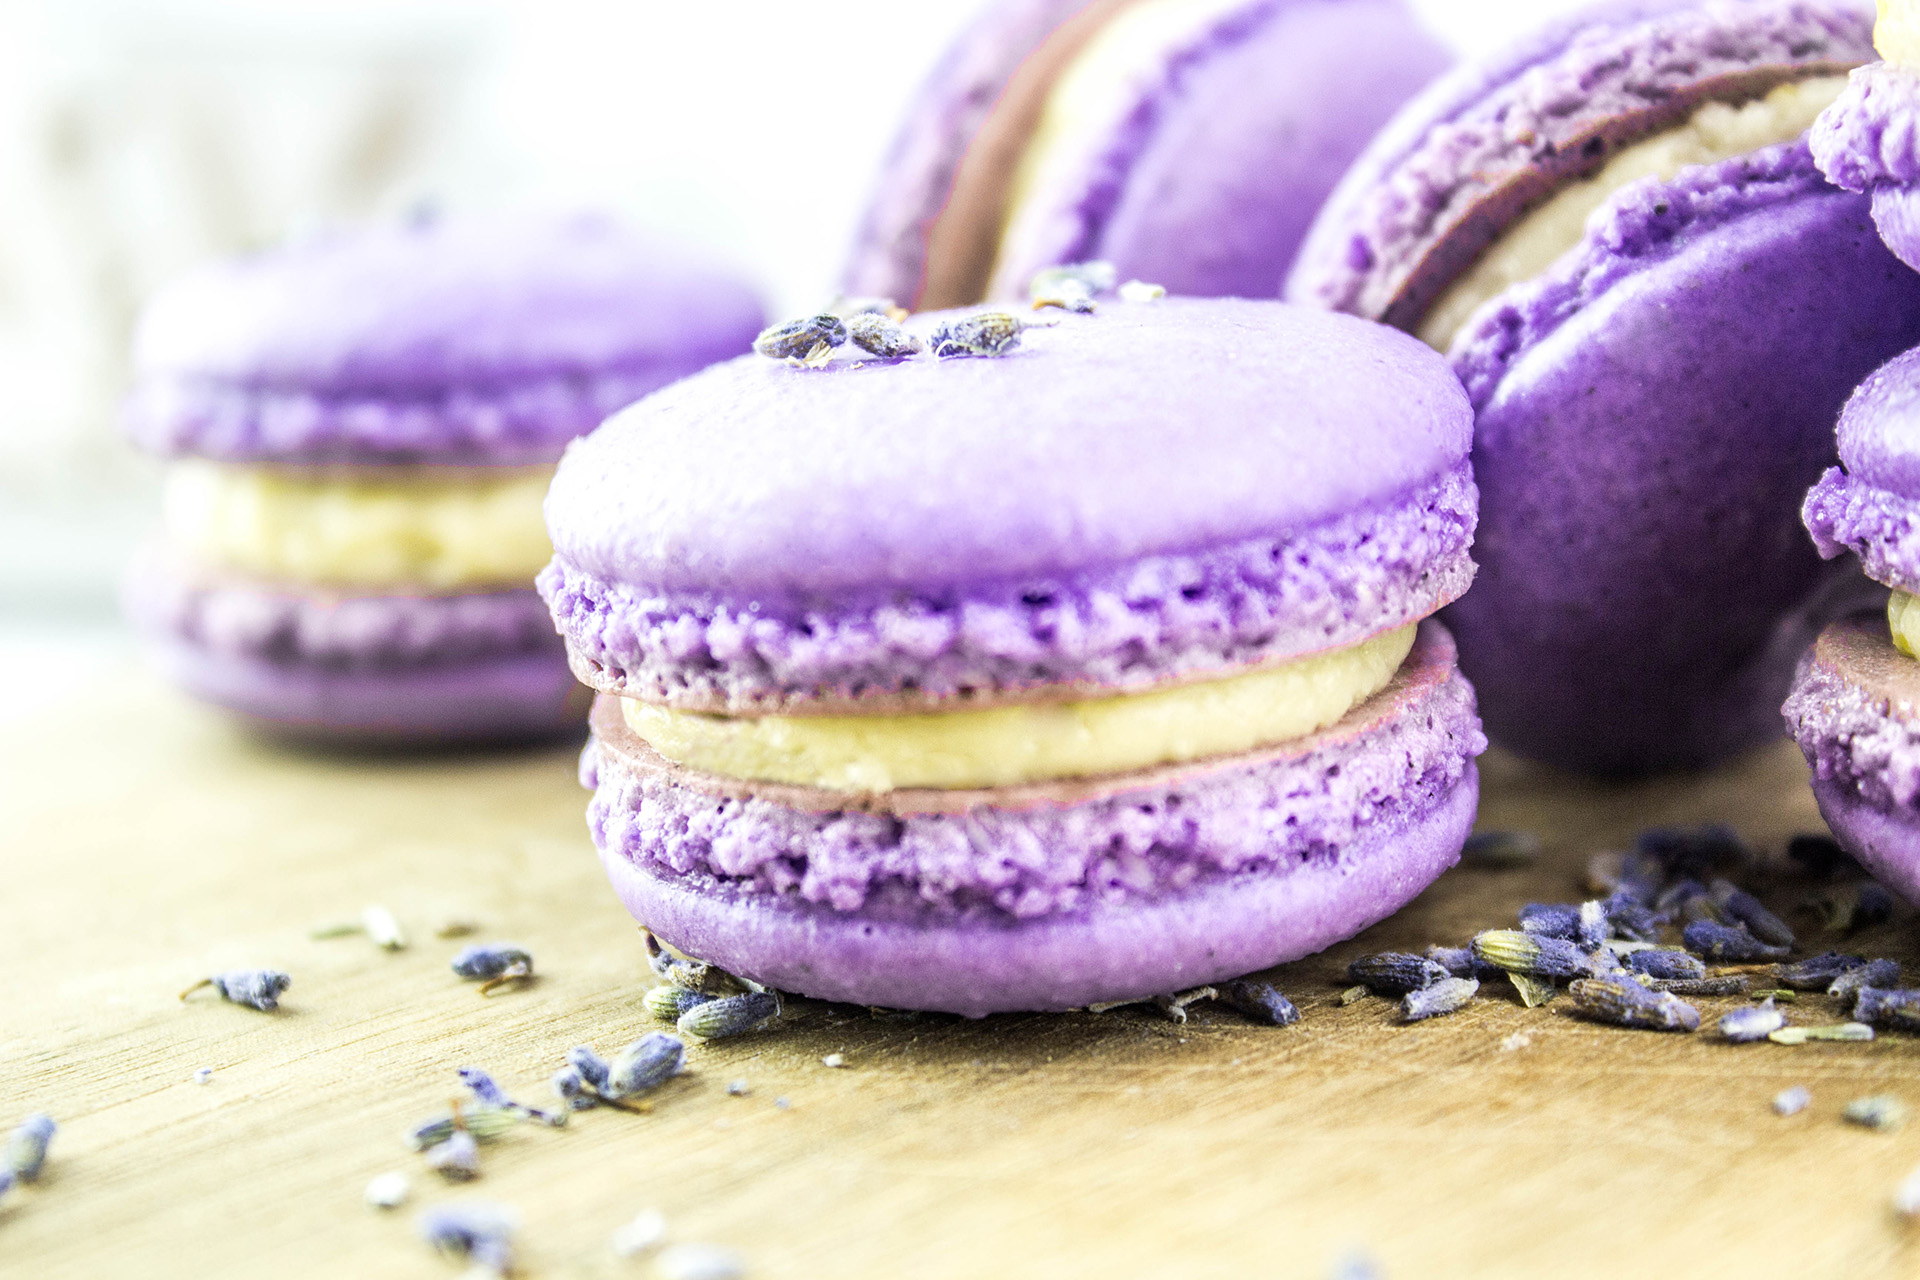
Pick up our London Fog Macaron kit today and start putting your new skills to the test!
Happy Baking!
Ade,
The Innocent Baker